Configuring Storage on FreeNAS
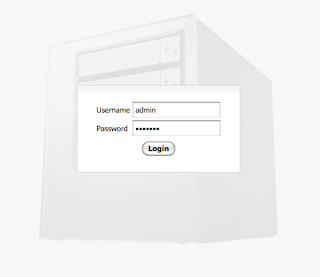
After FreeNAS has successfully been installed, upon system startup the IP address of the NAS Server will be displayed on the screen. Open a browser and type http://<Your FreeNas IP Address>
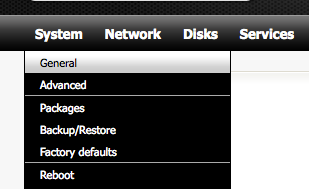
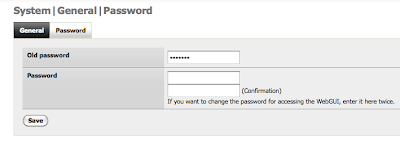
 As soon as you login, change your password, especially if you intend to expose storage to the internet. But even if you don't intend to access your storage over the internet, it's still a really good idea. To change your password, select System->General from the top navigation bar.
Then select the Password tab.
 Once the admin password for your NAS server has been changed, its time to add the existing internal drive space to FreeNAS. Select Disks->Management from the top navigation bar.
Click the + image in the lower right corner of the page to add the remaining volume space. Select the appropriate volume and add a description. If you selected the same volume that FreeNAS was installed on, it will already be preformatted as UFS, so select UFS as the file system type. Otherwise, you will have to format the drive.
Finally, click the Apply Changes button to confirm the addition of the storage volume. The Disks Management page should now look similar to the image below.

Creating FreeNAS Users
Select Access->Users and Groups from the top navigation bar.
 Click the + image in the lower right hand corner of the page. Enter a name and password for the user along with group designations and specify if you want the user to be able to log in to the FreeNAS web interface. You should have at least one user who is a member of the admin group.
 Click the Apply Changes button to finalize any newly created users.
 << previous page | next page >>


